Applying Textures
So far, we created a lonely box in the middle of the screen. We're now going to add a texture to it. Only a couple things are needed in order to load a texture on our box:
First, the texture itself. Yes, use the image below. 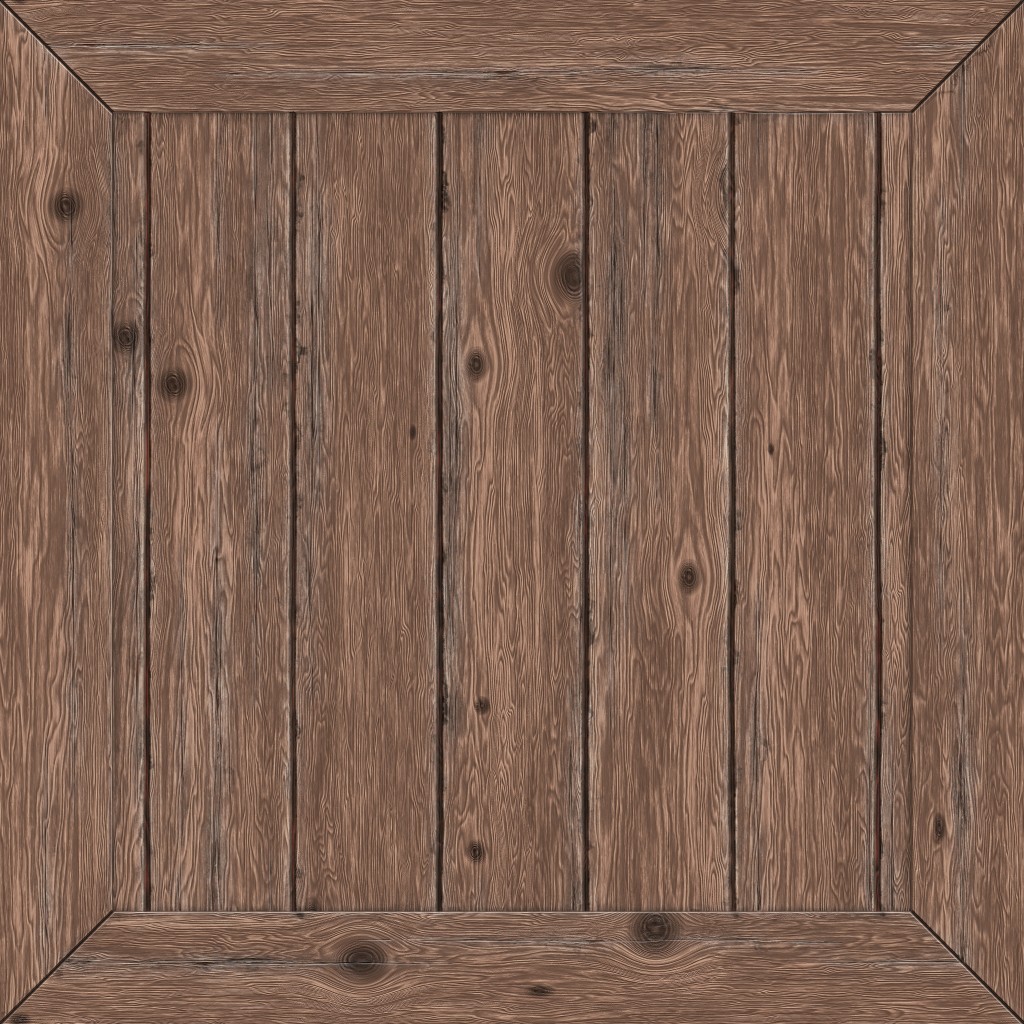
Then, a new entry in our app assets description. Remember the assets object we created in the index.js file earlier? We're going to change it like so:
index.js
const config = {};
const assets = {
    textures: {
        crate: 'PATH/TO/YOUR/wood_crate.jpg'
    }
};

window.addEventListener('load', () => {
    // same code we had before
});- We added a new
texturesfield in ourassetsobject. Each entry will be used by the engine to load the textures automatically at startup. This means that when the application is running, each texture is ready to be used.
In this case, the crate texture will be referenced using the name
crate, the key used in the definition.
TIP
Assets configuration can get a bit more complicated than this, please refer to the proper documentation page here: Loading Assets.
:::
Applying texture to the cube
Now we simply need to apply the texture to the previously created cube. In Hello Cube we created the first version of our level. Now, we simply need to change it like so:
import {
    Level,
    Cube,
    Scripts
} from 'mage-engine';

class FirstLevel extends Level {

    onCreate() {
        Scripts.create('rotation', RotationScript);

        const size = 10;
        const cube = new Cube(size);

        cube.setTextureMap('crate');
        cube.setPosition({ x: 0, y: 0, z: 0});
        cube.addScript('rotation');
    }
}

export default FirstLevel;
What happened here?
cube.setTextureMap('crate'): this method is setting the texture on the cube. This method accepts a parameter, which is the name of the texture. The name is defined in your assets configuration object.- We removed the color from the initialisation of the cube.
Running the application now should result in something looking like this:

Yes, I know what you're thinking, this looks exactly like before! Let's make the scene a bit more interesting by adding some lights and a skybox.